Your pen still holds a third of a converter of deep burgundy, and the turquoise you actually want to use is sitting on the desk. You could simply top it up and hope for the best. You already know how that ends: a muddy purple for a week, a nib that starts to feel gritty, and a faint worry about what two unrelated inks are doing to each other inside the feed.
Flushing a fountain pen is not difficult, and it takes far less time than most people assume once you know which jobs need a quick rinse and which need a proper soak. Here is a routine that works for everything from a cartridge-filling beginner pen to a piston filler you have owned for years.
Why a colour change needs more than a top-up
Ink left in the feed is not the same as ink left in the converter. The feed is a labyrinth of narrow channels, and whatever sits in there will bleed into your next fill for the first page or two. With similar inks — a navy into a black, say — that is a minor annoyance. With a pale ink going into a pen that previously held something saturated, it can ruin the new colour entirely.
There is also a chemistry question. Not every ink plays nicely with every other, and mixing a highly saturated ink with an iron gall or a pigment ink can produce sediment that settles in the feed. You do not need to be frightened of it, but flushing between colours removes the risk almost entirely.
What you'll need
- A cup or small jar of lukewarm water — never hot, as heat can distort plastics and soften seals
- Kitchen roll or an old towel
- A bulb syringe, if you have one, or the converter already in the pen
- A drop of washing-up liquid for stubborn cases, and a proprietary pen flush if you keep some in
- A second jar for the dirty water, so you are not rinsing in the same murky cup
The quick flush: switching within a colour family
If you are moving from one blue to another, or from a brown to a near-identical brown, a short flush is enough.
- Empty the converter or cartridge. If the pen has behaved well and the ink is fresh, plenty of people return the last of it to the bottle; if there is any doubt at all, tip it away.
- Draw clean water in and out of the pen five or six times, emptying into the waste jar each time. Watch the water leaving the nib — you are done when it runs clear.
- Wrap the nib in kitchen roll and shake the pen downwards, as you would a thermometer, to flick water out of the feed.
- Stand it nib-down on a folded piece of kitchen roll for ten minutes while you put the kettle on. Then ink up.
Expect the first few lines to look watery. That is residual water in the feed diluting the new ink, not a fault. Write a line or two on scrap paper and it will settle.
The full flush: changing colour completely
Going from black to a pale peach, or from anything at all to a demonstrator you want to look clean, calls for more care.
- Empty the pen and rinse as above until the water runs clear.
- If your pen has a screw-in nib unit and the maker supports removing it, unscrew it and rinse the unit separately under a lukewarm tap. Do not pull a friction-fit nib and feed out of the section unless you know the pen well — it is the quickest way to crack a collar or misalign a feed.
- Fit a bulb syringe over the back of the section and push water through the feed. This shifts far more ink than a converter alone, and it does it in seconds.
- Stand the section nib-down in a shallow glass with just enough water to cover the nib. Leave it twenty minutes, or overnight for a saturated ink. The water wicks up through the feed and pulls colour out with it. Change the water once or twice if it darkens.
- Rinse once more with clean water, then dry as above.
Drying the pen properly
This is the step most people rush, and it is the one that causes the most complaints about watery first fills. After the final rinse, flick the water out, then rest the pen nib-down in a wad of kitchen roll for at least fifteen minutes. A little patience here means the pen writes at full strength from the first stroke.
If you live in a hard water area, a final rinse with distilled water avoids mineral spots drying inside a clear barrel. It is a nice touch rather than a necessity.
When a pen needs a deeper soak
Some inks ask more of you. Shimmer inks leave particles that settle deep in the feed. Pigment inks and iron gall inks will dry into something approaching concrete if a pen is left unused for weeks. Signs that a pen needs more than a routine flush include hard starts after filling, ink that suddenly looks darker than usual, a nib that skips, or colour creeping along the underside of the section.
For these, add a single drop of washing-up liquid to a cup of lukewarm water and soak the section for an hour, then rinse exhaustively with clean water until no suds remain. Proprietary pen flushes do the same job; follow the instructions on the bottle rather than improvising. Never use alcohol, acetone, or hot water, and do not soak a vintage pen with a hard rubber section — water will discolour the ebonite and there is no way back.
How often should you flush?
There is no single rule, but useful habits are these:
- Every time you change ink, without exception.
- Every four to eight weeks for a pen you use daily with the same ink.
- Every couple of weeks, or after each fill, for shimmer, pigment or iron gall inks.
- Before any pen goes into storage, flushed and completely dry.
- Immediately, if a pen has sat unused long enough for the ink to thicken.
A pen used constantly with one well-behaved ink can go months without attention, and plenty do. A pen that sits on a shelf for a fortnight at a time needs more. Judge by how the pen writes, not by the calendar.
Making the flush part of your routine
Keep a dedicated jar, a bulb syringe and a roll of kitchen paper near where you write, and the whole job becomes a two-minute job rather than a chore you postpone. Fill the jar while the kettle boils. Rinse the nib while you decide which ink to use next. Empty the waste water down the sink, wipe the nib, and put the pen back together.
Do that consistently and you will rarely need the deep soak at all — which is exactly the point. A clean feed gives you the true colour of the ink you chose, a smoother nib, and one fewer thing to troubleshoot when a pen misbehaves.
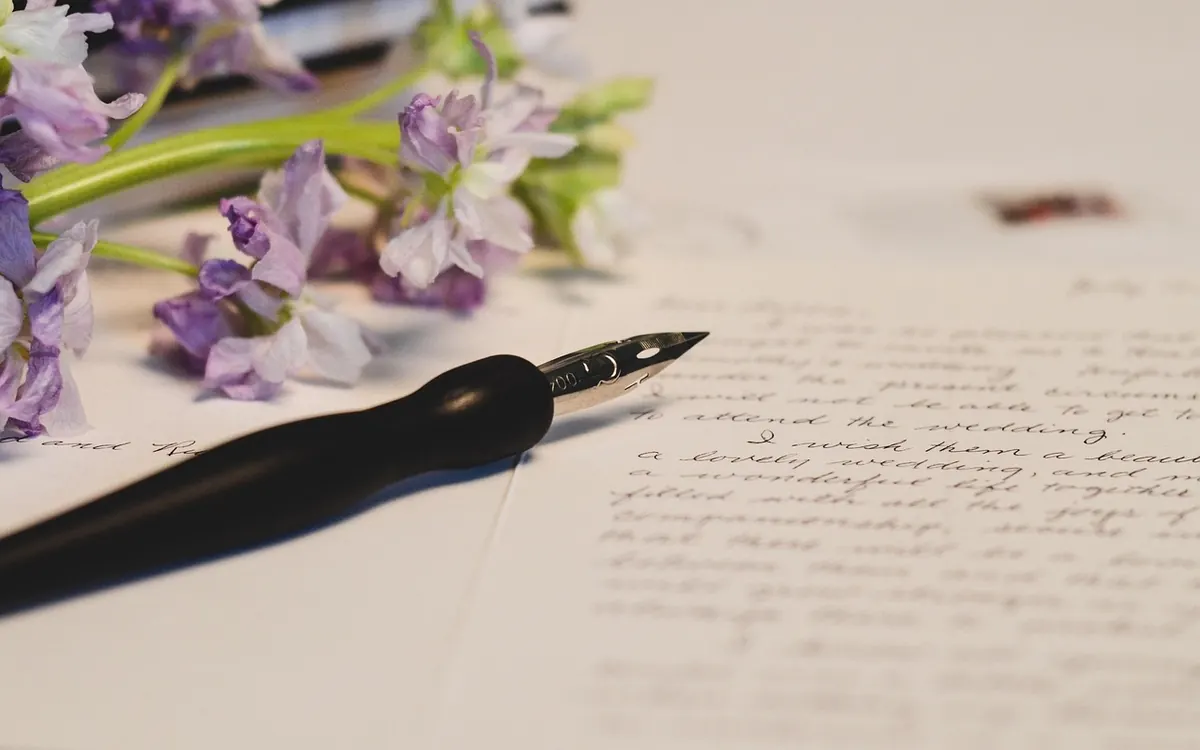
Photo: hudsoncrafted / Pixabay