You have mixed the ink, loaded the nib and drawn your first stroke of the day. It wobbles. The second is worse. This happens to everyone, and it has very little to do with talent. Calligraphy is a physical skill, closer to playing an instrument than to tapping out an email, and the muscles in your hand and forearm need a few minutes of easy movement before they will do what you ask.
Here are five drills that take about a minute each, target different parts of stroke control, and are repeatable — which matters more than any single drill being clever. Work through them slowly, on paper you are happy to waste.
Why Warm-Ups Beat a Cold Start
Drills are not practice pieces, so resist the urge to make them beautiful. Judge them on consistency alone. If every vertical in a row leans by the same amount, the drill has done its job even if the row looks dull. If three lean left and two lean right, you have found exactly what to work on for the rest of the session.
A tight grip is what usually produces shaky letters and an aching hand twenty minutes later. Easy, repetitive shapes give your hand somewhere to land before you ask it to make decisions.
Set Up Before You Start
Ninety seconds of preparation saves a lot of scrapped paper.
- Rotate the paper. Turn it so the pen travels roughly towards your writing shoulder rather than across your body. Most right-handers need more rotation than they think.
- Loosen your grip. Hold the pen as lightly as you can while keeping control. If your knuckles are white, it is far too tight.
- Use cheap paper. Layout paper or a pad you do not care about. Bleeding and feathering ruin the feedback you are after.
- Do not overfill. Too much ink masks the pressure changes you are trying to feel.
The Five Drills
1. The Ladder
Draw a row of parallel verticals, one nib-width apart, then a second row to check your slant. Keep the strokes the same height and the spacing even; the eye reads rhythm before it reads shape. With a broad edge, pull the stroke towards you and keep the edge flat against the paper. With a pointed nib, come up on a hairline and press down on the return so the stroke thickens as it descends. Once the verticals behave, repeat the exercise on a diagonal.
2. The Oval
Fill a line with the same tilted oval, using the slant of your chosen script. The goal is sameness, not roundness. Watch where the two halves of each shape meet — top and bottom should join cleanly, without a flat spot or a visible seam. When the ovals look like a queue of identical coins, your curves are under control.
3. Arches and Cups
These are the n and u shapes inside m, h, b, p and most of the rest of the alphabet. Build a row of arches, then a row of cups, then alternate them. Keep the tops round rather than flat, and move at a steady pace so both sides of each arch match. If your arches collapse on the right, you are speeding up at the end of the stroke.
4. The Zigzag Wave
Draw a continuous up-and-down zigzag across the page, joining each stroke to the next without lifting the pen. This is a rhythm drill: count aloud — one, two, three, four — and try to give every stroke the same amount of time. When a full line holds steady, add pressure control. Increase weight on the downstrokes through the first half of the line, then release it gradually.
5. Loops and Figure Eights
Work large. Draw linked ascender loops, then descender loops, then a line of figure eights that cross in the middle. This pulls the movement out of your fingers and into your wrist and forearm, which is where longer strokes belong. If the loops bunch up, you are drawing from the fingers and gripping too tightly. Practise at three or four centimetres tall until the motion feels loose and continuous, then shrink back down to writing size.
A Two-Minute Routine
The five drills do not need fifteen minutes. Run them back to back:
- Half a line of verticals, half a line of diagonals.
- One line of ovals.
- One line of arches, one line of cups.
- One line of zigzag waves, counting as you go.
- One line of large loops and eights.
- Finish with a short word or phrase you know well, as a bridge into proper practice.
Mistakes Worth Watching For
- Racing the first line. Warm-up strokes should be slower than your normal writing, not faster.
- Chasing pretty. Consistency first; the elegance follows on its own.
- Tightening up. If your hand aches, stop, shake it out and reset your grip.
- Skipping it on busy days. A ninety-second version still counts. Losing the habit entirely does not.
Finish With Something Real
Keep a warm-up page at the front of each practice notebook and date it. Within a few weeks you will see the ovals tighten and the arches stop collapsing, which is far more encouraging than comparing finished pieces. Five minutes of drills before you write words will do more for your lettering than half an hour of copying alphabets with a cold hand.
If your hand, wrist or shoulder starts to hurt, stop and check your posture and grip. Discomfort that lasts beyond a day or two is worth having looked at rather than writing through.
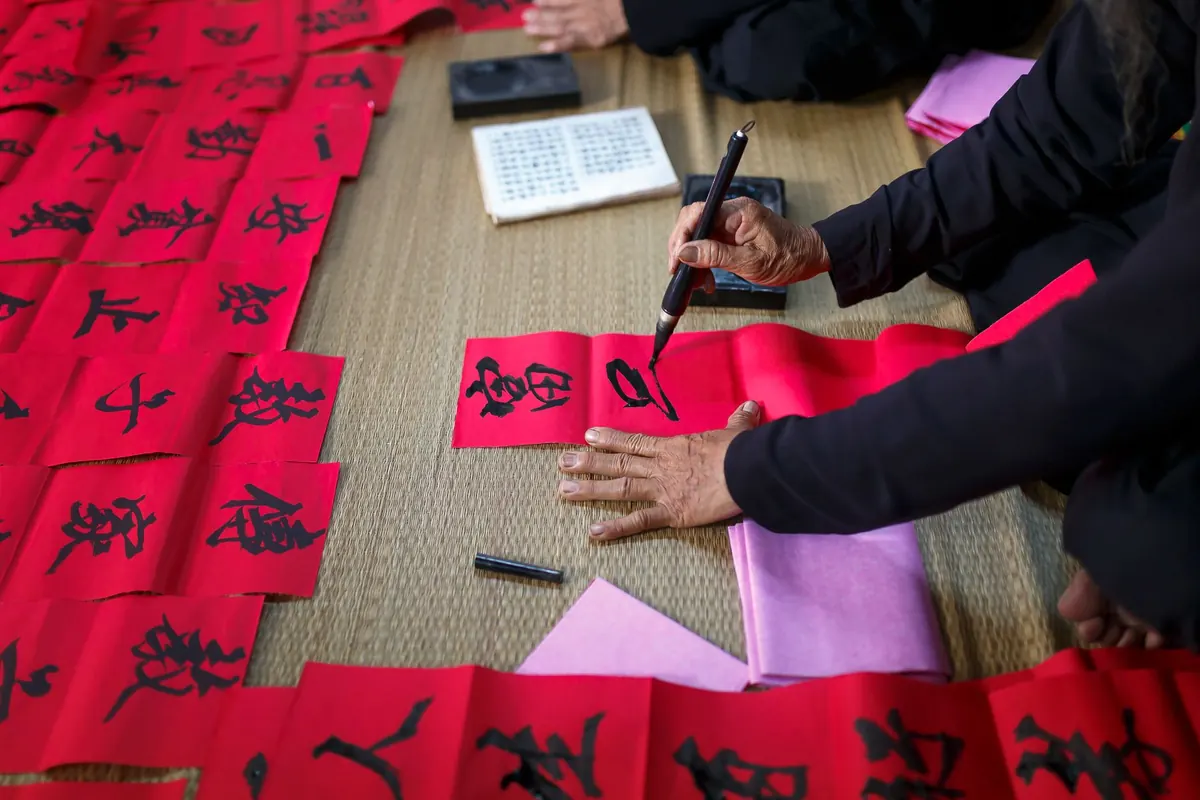
Photo: Quang Nguyen Vinh / Pexels